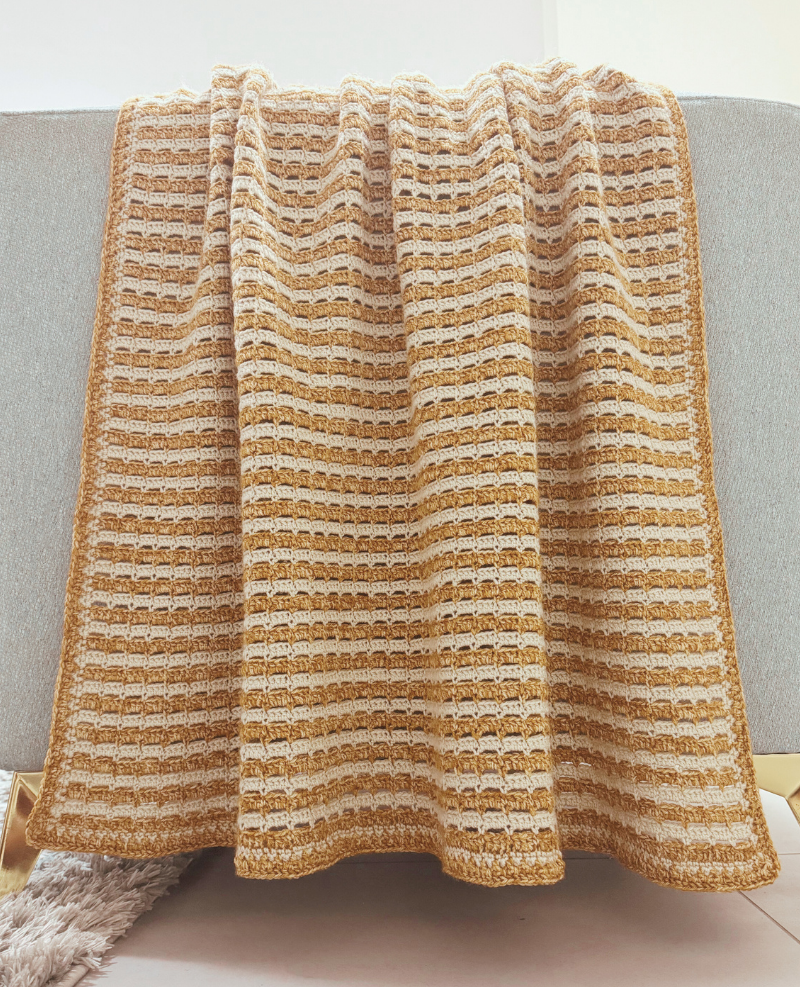
Get ready to crochet an easy to customise blanket with the Row Upon Row Blanket. This is one blanket you will find makes for an interesting, mindful crafting while you chill and watch your favorite shows.
Purchase an AD-free version on Ravelry, Etsy or Lovecraftscom
Personally, I find repetitive crochet stitching boring especially when it is on a large project like blankets. Stitch variations in a pattern keeps me engaged and expectant for the final outcome. Even though the Row Upon Row Blanket uses the same stitches throughout, it is not boring, because you will need to keep an eye when you make the chain rows, and the short and tall stitches, which gives it that quality of mindful stitching.
HOW TO CROCHET THE ROW UPON ROW BLANKET
This crochet blanket uses a combination of chains, single and double crochet stitches for the body, and the same stitches for the border; with an addition of half double crochet stitch. The blanket is worked in a two-row repeat beginning with the print coloured yarn. Each two row ends with a colour (yarn) change, then the next two row begin with the second colour.
There will be no need to snip yarn while changing colours, because the colour changing is done from one side of the blanket. All you need do is carry the colour up to the row where you need it.
The stitch design used in this crochet blanket pattern is the same as the lower half of the Noncho Poncho I designed a while back. I’ve got to tell you, that poncho is so nice. I wear it often once the Fall weather is approaching.
YARN
The Row Upon Row Blanket uses DK yarn in two colours, one with a print design, the other plain. Of course, you can use any two plain coloured yarns for the blanket (the video tutorial shows this). The pattern uses Scheepjes colour crafter velvet (the print yarn) and Scheepjes colour crafter (the plain yarn), both are the same yarn weight and have the same amount of meters.
A good substitute for the Scheepjes yarn would be the Stylecraft Bambino, it comes in both plain and print colours, same yarn weight and amount of meters. As this pattern is really customisable (see customisation notes below), you can use ANY yarn weight, bearing in mind that the heavier the yarn weight, the more likely you are to complete the blanket.
CUSTOMISE THE ROW UPON ROW CROCHET BLANKET
Though this pattern uses DK weight, you can make it wider and taller by increasing the number of starting chains (pattern multiples given in notes). Using your preferred yarn weight and appropriate hook, make it wider by making more starting chains, make it taller by making more rows.
MORE CROCHET BLANKET TO TRY
- Minimalist Crochet Baby Blanket– with such a subtle, pretty design.
- Easy Stitch Baby Baby Blanket– explore with colour on this one.
SHOP YARN CRAFTEE PATTERNS
All patterns and materials shared on www.yarncraftee.com (unless otherwise stated) are copyright Bekisu Obomighie aka Rose Obom. Please read more on the Privacy Policy page. Thank you.
ROW UPON ROW BLANKET- FREE CROCHET BLANKET PATTERN
Disclosure– This post may contain affiliate links; from which Yarn Craftee will receive a commission should you make a purchase.
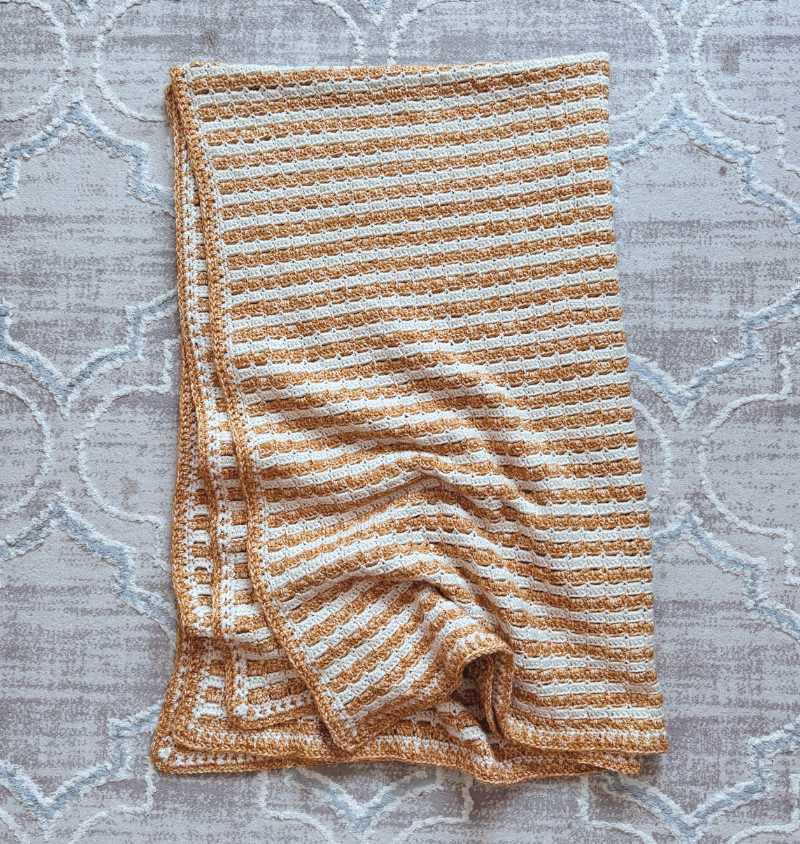
Finished size (approximate using DK yarn):
- before blocking-34″ wide/48.5″ height
- after blocking- 35″ wide/ 55″ height
Gauge: 18 rows/ 6 blocks across = 4 inches before blocking
Materials:
- DK weight acrulic yarn. This pattern uses 4 balls of Scheepjes Colour Crafter Velvet and 3 balls Scheepjes Colour Crafter (100g/300m per ball for both yarns). You can substitute with a good match like StyleCraft Bambino DK and Stylecraft Bambino Prints (100g/268m per ball)
- 4.5 mm hook
- Tapestry Needle
- Stitch markers (no stitch markers? substitute with hair pins)
Stitches/Abbreviation:
- SC- single crochet
- DC- double crochet
- HDC- half double crochet
- CH- chain
- SL ST- slip stitch
- MC- main colour
- Col B- colour B
Pattern Notes:
- Pattern is written in U.S terms
- Chain 1 at the beginning of row does not count as a stitch
- When making the border, place stitch marker in the Ch 1s at each corner
- When changing colours, finish the last stitch (SC) with the other colour.
- Pattern multiple– 4 chains + 2. Say, you make 4 chains 50 times= 200 + 2 more chains= 202 starting chains
- BLOCKING IS NECESSARY
Purchase an AD-free version on Ravelry, Etsy or Lovecraftscom
PATTERN
Row 1: with MC, chain 194, SC in 2nd ch from hook, *DC in next 3 chs, SC in nxt ch. Repeat from * across. Finish last SC with Col B.
Row 2: Ch 1, SC in 1st st, *Ch 3, skip the 3 DC sts, SC in nxt SC. Repeat from * across the row. Ch 1, turn
Row 3: SC in 1st st, *3DC in ch 3 space, SC in nxt st. Repeat from * across. Finish last SC with MC. Ch 1, turn
Row 4: Ch 1, SC in 1st st, *Ch 3, skip the 3 DC sts, SC in nxt SC. Repeat from * across the row. Ch 1, turn
Row 5: SC in 1st st, *3DC in ch 3 space, SC in nxt st. Repeat from * across. Finish last SC with Col B. Ch 1, turn
Rows 6-213: repeat the last four rows- 2-5. Snip yarn. (see customization notes on page 2 should you wish to extend the rows)
BORDER
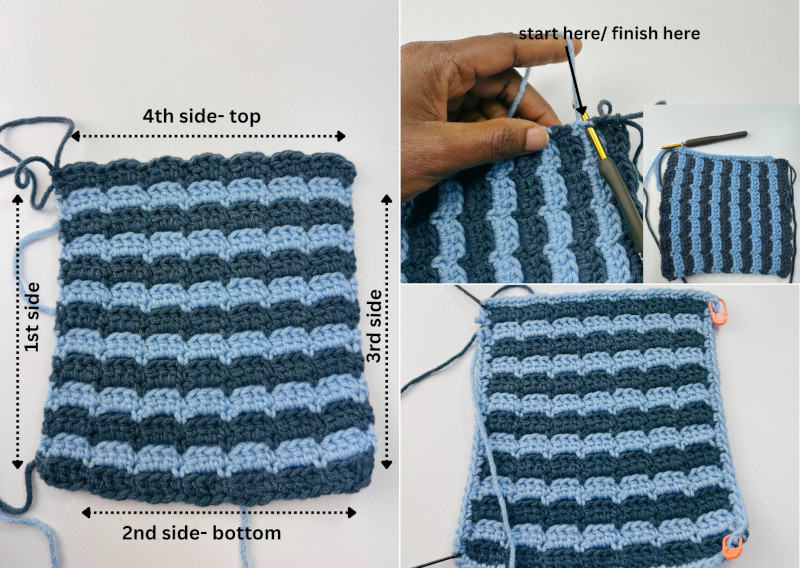
Round 1:
tip- always remember that each colour has 2 rows, so, we want to make 2 SCs into each of those rows EXCEPT the last (bottom) row (i.e, Row 1), we will make only 1 SC st in that side row. Also remember to place a stitch maker into the Ch 1s you make at the corners; quite important as it will guide you on where to be making the increases (DC, Ch 1, DC) in the corners.
1st side: With Col B, join yarn in the col B stitch row, Ch 1, SC in same st row, SC in nxt st row. Continue to make 2SCs into each of the coloured st rows. At the bottom (last row), SC into the st row, Ch 1
2nd side (bottom): SC into the 1st st (now place st marker into the ch 1), SC into each of the sts at the bottom. Ch 1
3rd side: SC into the side of the same bottom row, continue to make 2SCs each into the remaining st rows. Ch 1
4th side (top): SC in the 1st st. and in to each st across the row. Ch 1, finish with 2SCs in the side of the top row. Join to the 1st st on the round with Main colour.
Round 2:
Round 2: keep stitch marker in place on this round
1st side: Ch 3 (counts as 1st DC and Ch 1), skip nxt st, DC in nxt st, *Ch 1, skip 1 st, DC in nxt st. Repeat from * across the side till the Ch 1, Ch 1 over that Ch 1, (DC, ch 1, DC) in the nxt st.,
2nd side (bottom): *Ch 1, skip nxt st, DC in nxt st. Repeat from * across till the last 2 sts before the Ch 1, Ch 1, skip 1 st, (DC, ch 1, DC) in nxt st.
3rd side: Ch 1, skip 1 st. (the stitch being the Ch 1 you marked), DC in nxt st, *Ch 1, skip 1 st, DC in nxt st. Repeat from * across the side till the Ch 1, Ch 1 over the Ch 1, (DC, ch 1, DC) in nxt st.
4th side (top): *Ch 1, skip nxt st, DC in nxt st. Repeat from * across till the last 2 sts before the Ch 1, Ch 1, skip 1 st, (DC, ch 1, DC) in nxt st., continue to the 1st side, Ch 1, skp nxt st, DC in nxt, Ch 1, Join to the 1st st on the round with Col B.
Round 3: we will be working into the skipped sts on Round 2
1st side: Ch 1, HDC in 1st skipped st, Ch 1, HDC in nxt skp st. Repeat from * across till the Ch 1, HDC in the Ch 1, Ch 1, 3HDC in the same st as the (DC, ch 1, DC) at the corner.
2nd side (bottom): *Ch 1, HDC in nxt skipped st,. Repeat from * across till the increase at the corner, Ch 1, 3HDC in corner st,.
3rd side: repeat as for the 2nd side.
4th side: repeat as for the 2nd side. Finish with Ch 1, HDC in nxt st (the Ch 1 on round 1), Ch 1, HDC in last skipped st. Join to the top of Ch 2 of previous round with Main colour.
Round 4: (you may want to refer to the video tutorial on Yarn Craftee youtube channel to guide you) on this final round, we will go through the Ch 1s and the sts together. Pace yourself here, so that no stitches are missed- see it as a matching game. Work the stitches by matching the DC and the Ch 1, then the Ch 1 and HDC. The only part where this matching is different is the corner of the 1st and 3rd HDC sts on col B.
1st side: Ch 2 (counts as 1st st), DC through the 1st st (that is, the Ch 3 space from round 2) and 1st HDC on Col B, *DC through nxt DC and Ch 1 on Col B, DC through the nxt Ch 1 and HDC on Col B. Repeat from * till the increase at the corner.
At Each Corner– DC through the 1st DC and the Ch 1 behind, DC in the 1st HDC on the increase at the back (col B) , then, through the Ch 1 in front (Main col), (DC, ch 1, DC) in the middle st at the back, DC again into the 3rd st at the back, DC in nxt DC and Ch 1 behind.
2nd, 3rd & 4th sides: continue to repeat from * the process as for the 1st side. After the 4th corner, Finish with DC in Ch 1 and st at the back, DC in nxt st and Ch 1 at the back, DC in Ch 1 and st at the back. Join to the 1st DC st. Snip yarn, weave in tails.
Now that you have completed the Row Upon Row Blanket, it is time to block. Blocking is not optional. Really, you want to iron out the kinks and stretch the chain spaces for a clean, smooth look.
Thank you for checking out this pattern. Kindly use the share buttons to spread the word. When you make one, do not be shy, share with us on instagram with #yarncraftee or join our private Facebook group to share your projects and find support.