
Ever used the crochet bean stitch for a design, in this crochet tutorial, I will be guiding you through how to crochet simple drawstring pouch using the crochet bean stitch.
Purchase an AD-free version on Ravelry, Etsy

To get started with the crochet Bean stitch, you can make a simple crochet card holder by repeating a few rows of stitches, then this two-round crochet headband. After getting your hands used to the Bean stitch pattern, you can crochet this simple drawstring pouch, then move on to a a larger crochet baby blanket pattern.
This crochet simple drawstring pouch is part of the CIJ- Christmas in July Make-along with Marie at the UndergroundCrafter. A yearly make-along to get you in ready and stitching for the Christmas holidays. Show your support for the make-along by checking all the other designers on the Undergroundcafter site.
CUSTOMISE:
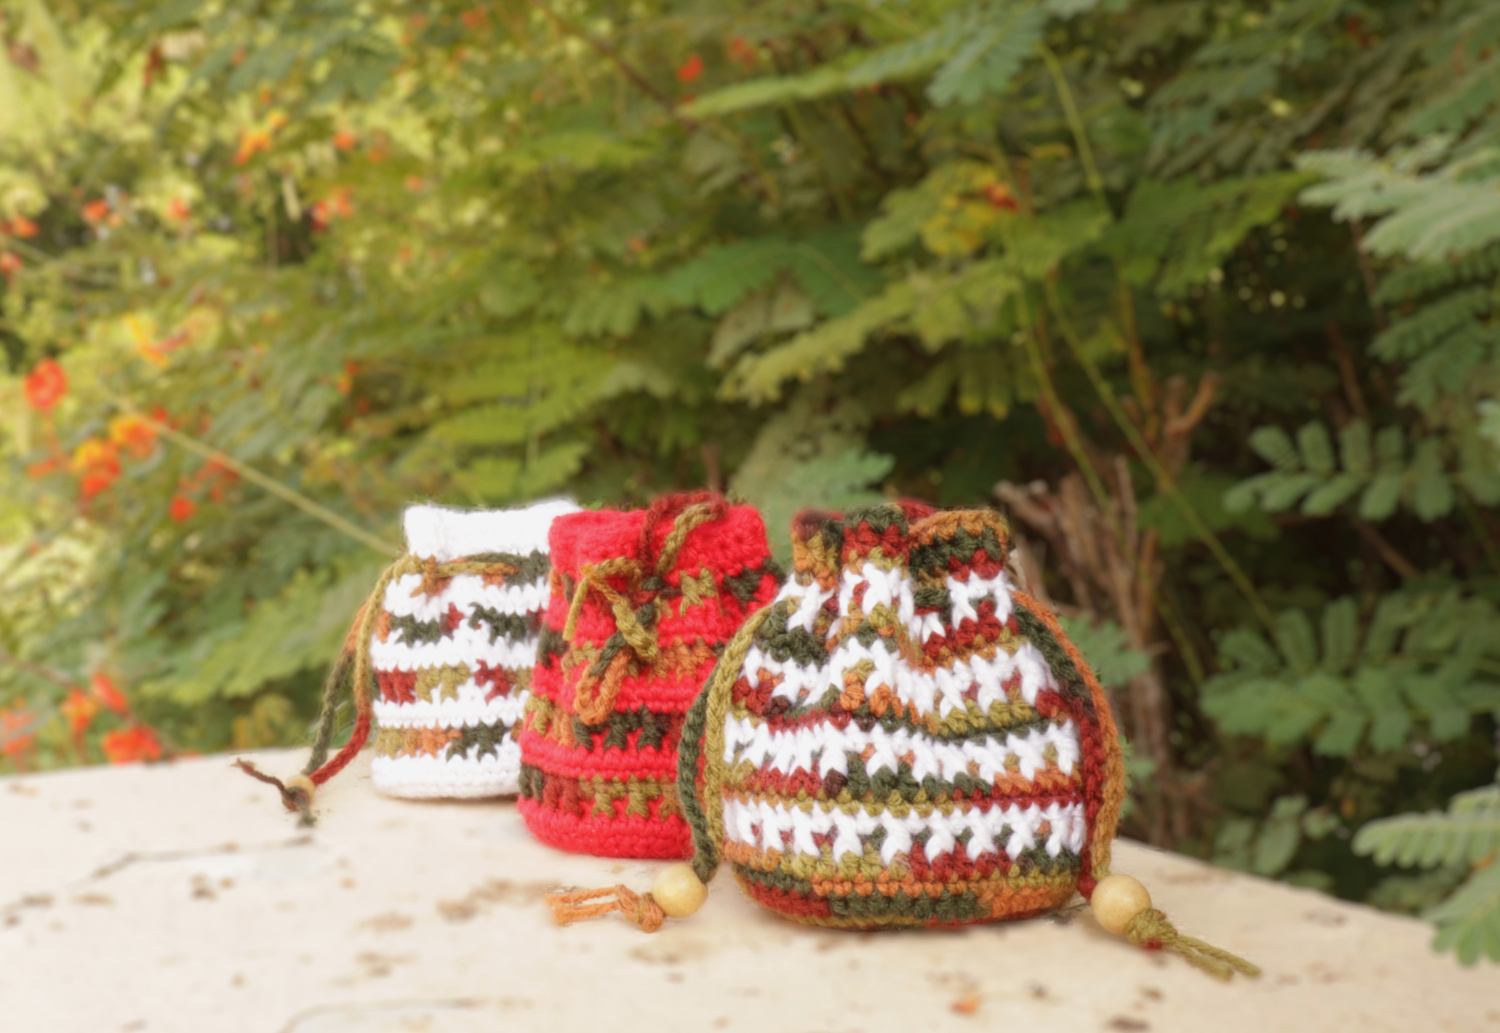
This is a very easy pattern to customize. Should you want to make a bigger pouch, you can do the following:
– make more chains for the starting chains, just ensure that it is an even number of chains.
– the pattern is a 6-row repeat, make more rows for a ‘taller’ pouch, so, instead of ending at row 45, you end where you want, just note that the last 3 rows are the HDC rows- 1 solid HDC row, 1 HDC, chain 1s row, and a final solid HDC row.
MORE CROCHET POUCH PATTERNS TO TRY:
- This mini crochet pouch is so cute
- Great left-over yarn drawstring pouch
- Explore tapestry crochet with the Geo-print Pouch
- Reversible crochet pouch, anyone?
SHOP YARN CRAFTEE PATTERNS
All patterns and materials shared on www.yarncraftee.com (unless otherwise stated) are copyright Bekisu Obomighie aka Rose Obom. Please read more on the Privacy Policy page. Thank you.
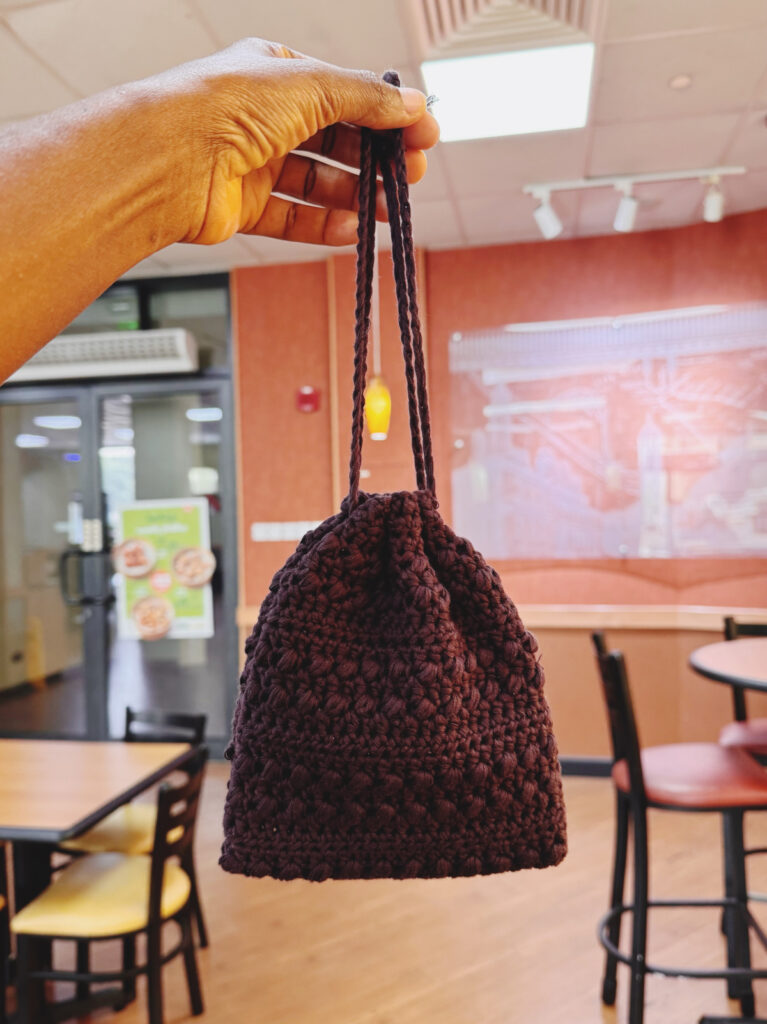
CROCHET SIMPLE DRAWSTING POUCH
Finished size: 6 wide/6.5″ tall
Materials:
- 100-120 mtrs Worsted weight cotton yarn
- 4.5mm hook
- Tapestry needle
- Scisssor
Stitches/Abbreviation:
- HDC- half double crochet
- Bean st.- how to crochet bean stitch
- CH- chain
Notes:
- The pattern uses U.S terms
- Chain 1 at the beginning of the row does not count as a stitch
- Each chain 1 between the Bean stitches and/ or HDCs counts as a stitch
Purchase an AD-free version on Ravelry, Etsy
PATTERN
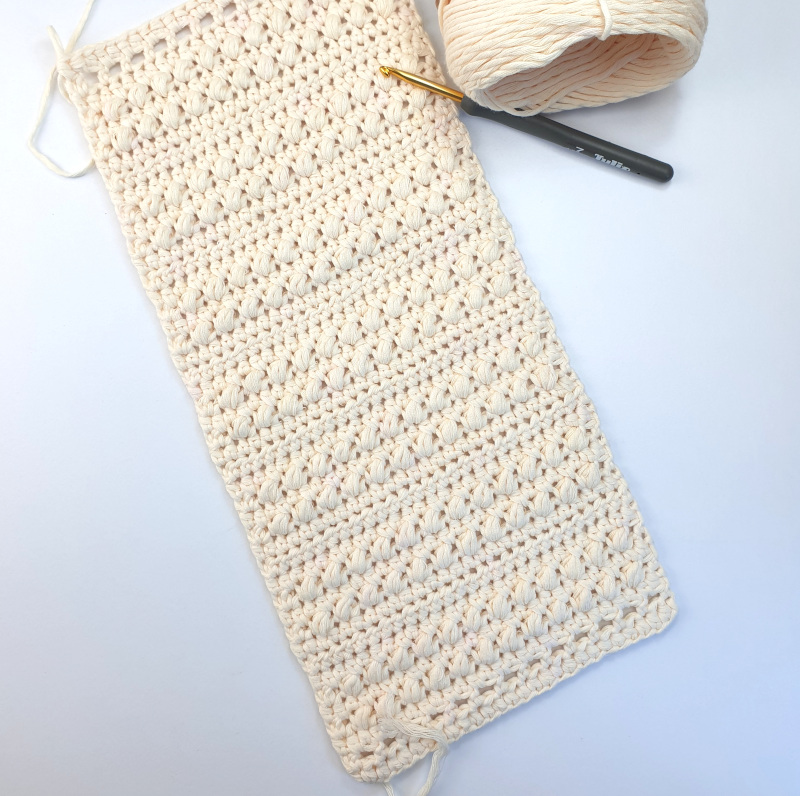
Row 1: Chain 28, HDC in 2nd ch from hook and across each ch. ch 1, turn
Row 2: HDC in 1st st, *ch 1, skip 1 st, HDC in nxt st. Repeat from * across the row. Ch 1, turn
Row 3: HDC in 1st st, *HDC in ch 1 space, HDC in nxt st. Repeat from * across the row. Ch 1, turn
Row 4: HDC in 1st st, *ch 1, skip 1 st, bean st in nxt. Repeat from * across till last 2 sts, ch 1, HDC in last st. Ch 1, turn
Row 5: HDC in 1st st, HDC in ch 1 space, *HDC in nxt st, HDC in ch 1 space. Repeat from * across the row till last st. HDC in last st. Ch 1, turn
Row 6: HDC in 1st st, *ch 1, skip 1 st, bean st in nxt. Repeat from * across till last 2 sts, ch 1, HDC in last st. Ch 1, turn
Row 7: HDC in 1st st, HDC in ch 1 space, *HDC in nxt st, HDC in ch 1 space. Repeat from * across the row till last st. HDC in last st. Ch 1, turn
Rows 8&9: HDC in 1st st and each st across. Ch 1, turn
Rows 10- 39: repeat rows 4-9. Ch 1, turn
Rows 40-42: repeat another 3 rows of HDC and Bean sts. (as done for rows 4-6). Ch 1, turn
Row 43: HDC in 1st st, HDC in ch 1 space, *HDC in nxt st, HDC in ch 1 space. Repeat from * across the row till last st. HDC in last st. Ch 1, turn
Row 44: HDC in 1st st, *ch 1, skip 1 st, HDC in nxt st. Repeat from * across the row. Ch 1, turn
Row 45: HDC in 1st st and each st across. Do not snip yarn, turn
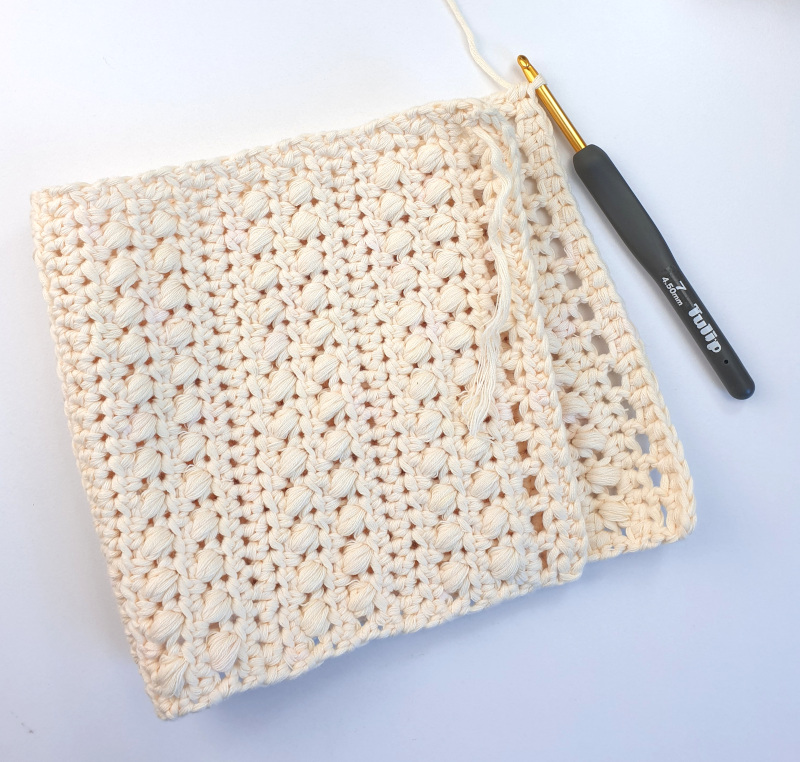
Now we will slip st across each st row to close the side. Be sure to align each row to ensure even stitching. Once done with that side, snip yarn, work in the opposite side.
On the other side, join yarn in the top of the first two stitches, start joining in the sides of each stitch row. Snip yarn, weave in tails.
String- make 2
Chain 63 (or as long or short as you want the string to be). Snip yarn. From one side, pass the string through every other chain 1 space on row 44. Repeat the same process for the other side of the pouch. Tie the ends of the strings, then pull it on either side to close the bean pouch.
Thank you for checking out this pattern. Kindly use the share buttons to spread the word. When you make one, do not be shy, share with us on instagram with #yarncraftee or join our private Facebook group to share your projects and find support.


One Comment