Do you have favourite Crochet Summer projects to make? I have to say, that Crochet Summer Tops are a favourite of mine, as I really enjoy designing with open work crochet stitches.
Purchase a formatted, printable version on Ravelry, Etsy, Lovecraftscom

The Open Waves Crochet Summer Top is not a ‘new’ design. This crochet summer top came to life sometime in 2019 when I first designed it. It was one of the first few garments I had designed. Looking back at the pattern, there were just a few updates I made to it to breathe new life into the design.
One of those changes is the video tutorial that’s not available to watch. Another change was a more detailed pattern with photos and explanations of crucial points. The pattern itself was alright, as evidenced with the reviews on Ravelry.
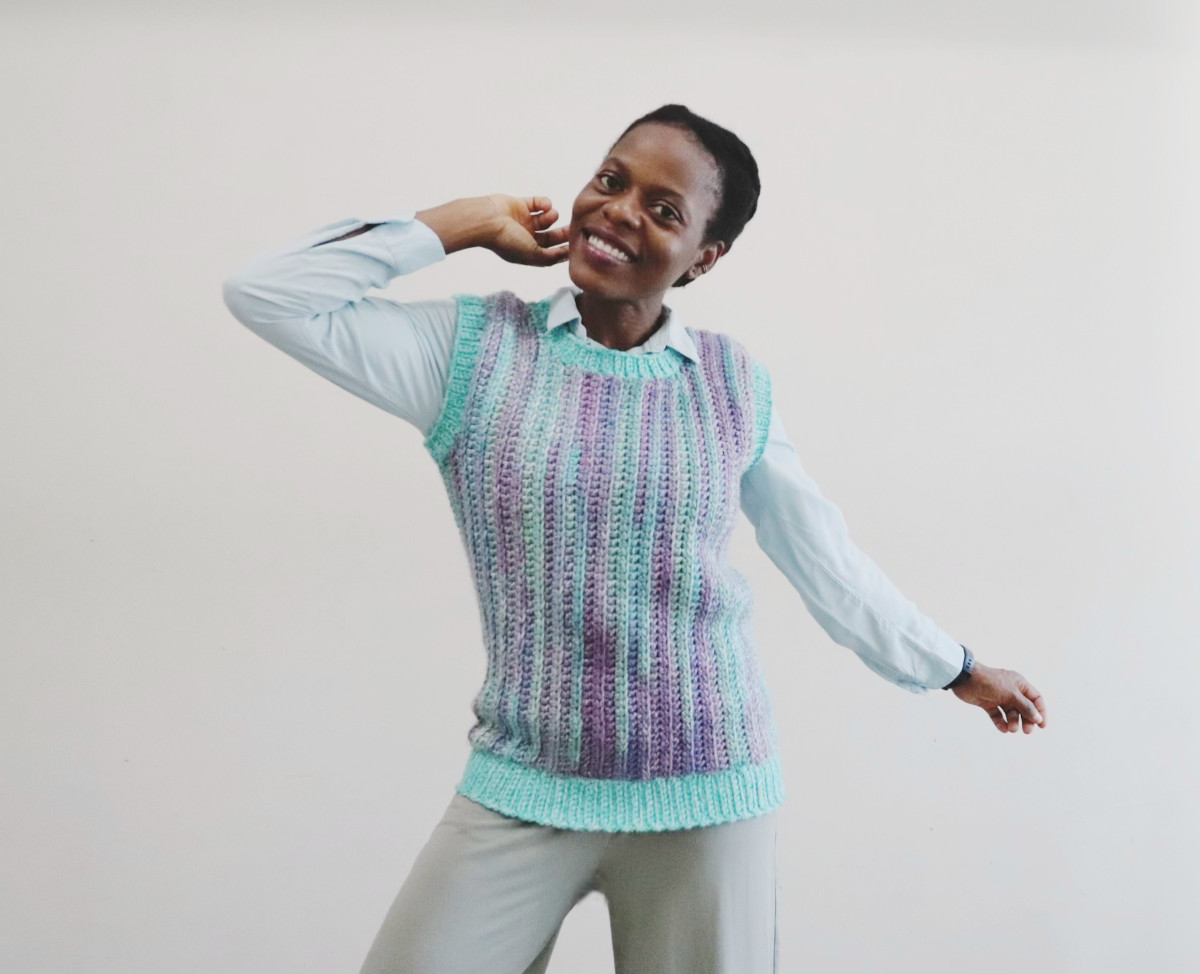
The open waves crochet summer top is one of those clothing items you want to have in your summer wardrobe because of the lovely stitching, ease of wearing and lightness of the fabric.

How To Style The Open Waves Crochet Summer Top
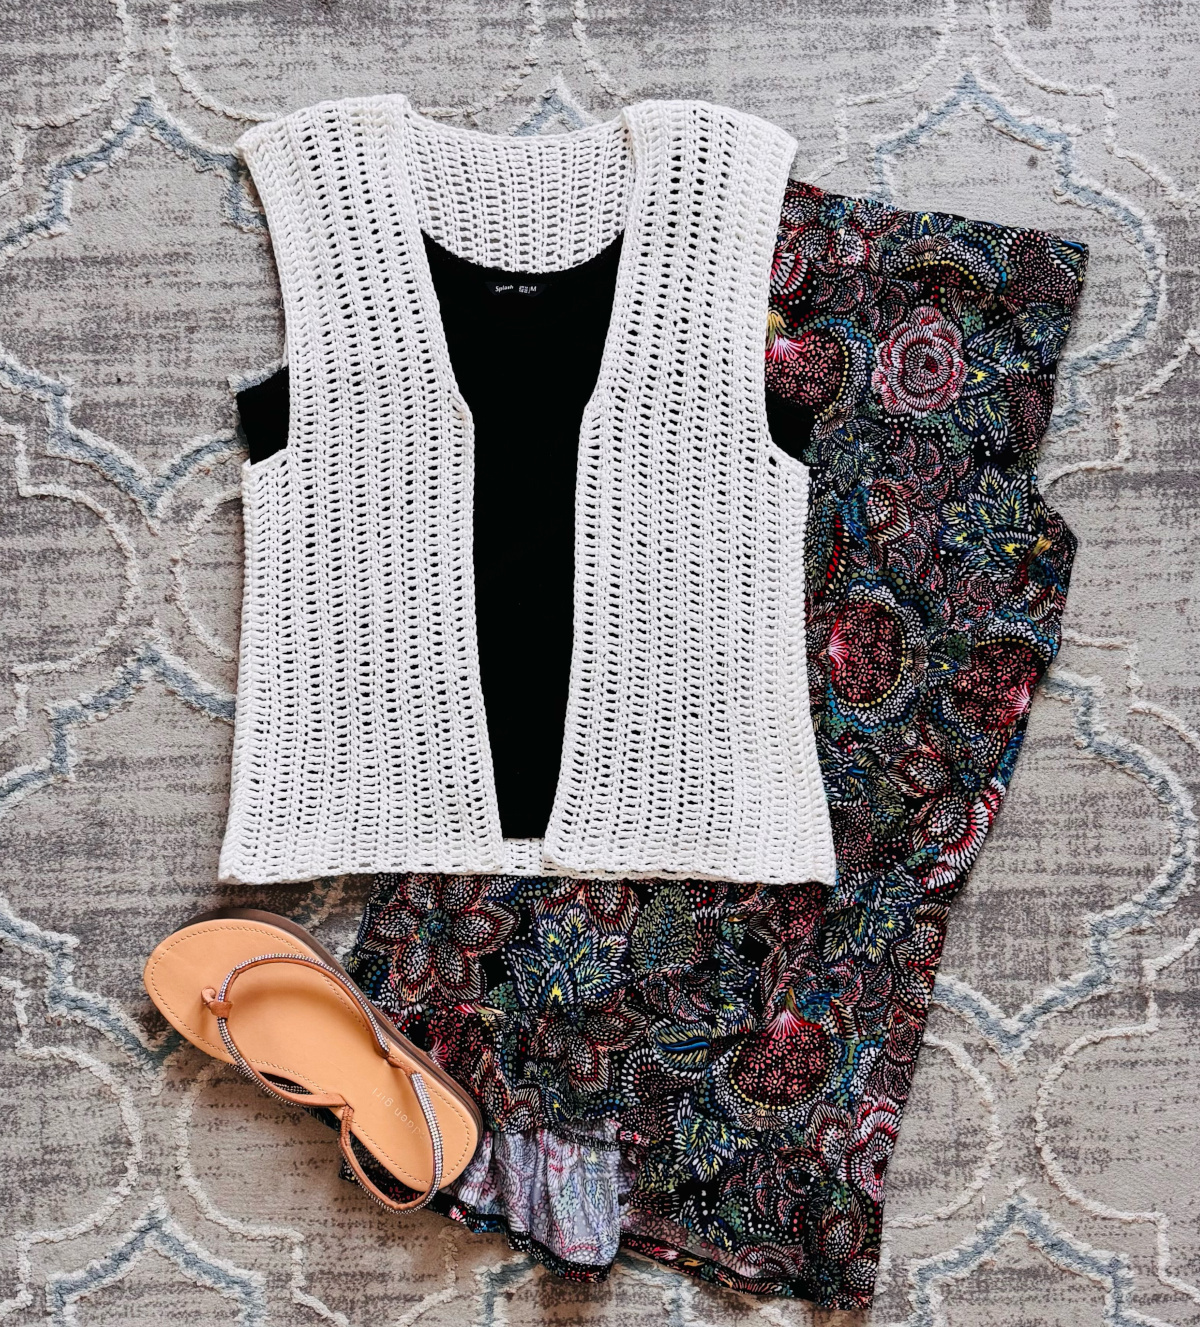
The most obvious way would be to wear it over some comfy straight pants like, leggings, jeans. It can also be worn over shorts, and should you decide to customise by making the body longer, you can wear it comfortable as a beach cover-up.
Construction
You will find that this pattern even though easy, comes with some calculation. The back panel is made first, after which we proceed to making the right front panel without snipping the yarn. After this, the left front panel is done.
Once that’s done, it is time to seam the openings at the sides and front. After that, the sleeves are extended and the neckline is trimmed.

What About Customising It?
What if you wanted to customise tis Open Waves Crochet Summer top? Maybe you want the length of both front and back panels to be the same, or maybe you want the spaces between the solid stitches to be wider? Perhaps you want longer sleeves or no sleeves at all? It is easy, you can do it in the following ways:
1- to make both the front and back panels the same, simply crochet the same number of rows you have for the back panel. When you want to join them, leave the same number of stitches on both panels for the slit at the side. (that is referenced on the part you have to seam).
2- to have wider chains between the stitches, use a larger hook size. For instance, the model in the photo is wearing size S, so I would go up a hook size or two to make the same size.
3- if you want longer sleeves, repeat the rows again before you make the final row, on that row there is a decrease. So, please take note of that.
4- if you want no sleeves, then don’t make one. Once you finish seaming the sides, trimming and weaving in all tails, AND blocking, your top is ready.
Yarn
For projects like these, I tend to gravitate towards lighter yarn weights. This Crochet Summer Top uses sport weight yarn, with a blend of cotton and acrylic fibres. I do not think it is very important to use the exact same fibre content for this crochet summer top, either fibre would be fine as long as it matches the gauge of the stitch pattern. (please see the visual guide below for that)- as yet unblocked. See a selection of sport weight yarn on Lovecraftscom.

Open Waves Crochet Stitch
You will find the open waves crochet stitch for this crochet summer top very easy to memorise- it uses the double crochet and single crochet stitches with chain between them to form a connected train of stitches. Practicing making a swatch will help you better understanding the stitch multiples.
Crochet Summer Tops You Can Make
SHOP YARN CRAFTEE PATTERNS
All patterns and materials shared on www.yarncraftee.com (unless otherwise stated) are copyright Bekisu Obomighie aka Rose Obom. Please read more on the Privacy Policy page. Thank you.
OPEN WAVES CROCHET SUMMER TOP
Size Guide:
- Sizes: XS, S, M, L, 1XL, 2XL, 3XL, 4XL
- Bust (in): 28-30, 32-34, 36-38, 40-42, 44-46, 48-50, 52-54, 56-58
- Starting chains- 84, 94, 104, 104, 114, 124, 124, 134
- Number of Rows for back panel- 81, 87, 93, 95, 99, 103, 105, 109
- Number of Rows for front panel- 71, 77, 83, 85, 89, 93, 95, 99
- Armhole length- 7, 7.5, 8, 8.5, 9, 9, 9.5, 9.5
Materials:
- 2-5 balls, Sport weight yarn. This pattern uses Alize Cotton Gold (55% cotton/45% acrylic, 100g; 329m/360yds. For a substitute, try Scheepjes Stone Washed, they have the same fiber content and weight. Approximate metres according to size (XS-658,S-987,M-987,L-987,1XL-1316,2XL-1316,3XL-1645,4XL-1645) mtrs
- 4.5mm hook
- Tapestry Needle
- Stitch markers
Stitches/Abbreviation:
- SC- single crochet
- DC- double crochet
- SC2TOG- single crochet 2 together
- CH- chain
- SL ST- slip stitch
- ST- stitch
Pattern Notes:
- Pattern is written in U.S terms
- Chain 1 at the beginning and end of rows do not count as stitches.
- The basic stitch pattern is this- make DC in SC and SC in DC
Purchase a formatted, printable version on Ravelry, Etsy, Lovecraftscom
PATTERN
This pattern is written for small size. Please refer to size chart for appropriate size.
BACK PANEL
Row 1: Chain 94. SC in 2nd chain from hook and in next 2 chains *Ch 3, skp 2 chs, DC in 3 chs, Ch 3, skp 2 chs, SC in 3 chs. Repeat from * across. Chain 1, turn
Row 2: DC in 3 sts, *Ch 3, skp 3 chains, SC in 3 sts. Ch 3, skp 3 chs, DC in 3 sts. Repeat from * across. Chain 1, turn.
Row 3: SC in 1st st and next 2 sts, *Ch 3, skp 3 chains, DC in 3 sts. Ch 3, skp 3 chs, SC in 3 sts. Repeat from * across. Chain 1, turn
Rows 4-87: repeat rows 2&3. DO NOT break yarn continue to the next row.
FRONT PANELS
Divide the back panel in two halves with 3 (5 for size L to 4XL) rows of solid stitches in between them. Mark the Stitches. You want to ensure that the solid stitches on each side are the same number.


Right Side
Row 88: repeat row 2, STOP when you have 3 (5) solid stitches in the middle. Ch 3, DC in next st. Chain 1, turn. Mark the first stitch here (this will be the ‘Middle’ of the armhole)
Row 89: SC in 1st st, *Ch 3, skp 3 chains, DC in 3 sts. Ch 3, skp 3 chains, SC in 3 sts. Repeat from * across. Chain 1, turn
Row 90: DC in 3 sts, *Ch 3, skp 3 chains, SC in 3 sts. Ch 3, skp 3 chains, DC in 3 sts. Repeat from * across ending with DC in last st. Chain 1, turn
Rows 91-164: repeat rows 89 & 90. Snip yarn with long enough tail to weave in
Left Side- note: Chain 5 stands for 3 chains in between the solid stitches and 2 chains as 1 DC
Row 88: with wrong side of previous row facing up, join yarn in 3rd stitch (see page 8). Ch 5, *SC in next 3sts, Ch 3, skp 3 chains, DC in nxt 3 sts, Ch 3. Repeat from * across. Chain 1, turn. Mark the last stitch here (this will be the ‘Middle’ of the armhole)
Row 89: SC in 3 sts, *Ch 3, skp 3 chains, DC in 3 sts. Ch 3, skp 3 chains, SC in 3 sts. Repeat from * across ending with SC in top of Ch 2. Chain 5, turn
Row 90: SC in nxt 3 sts, *Ch 3, skp 3 chains, SC in 3 sts. Ch 3, skp 3 chains, DC in 3 sts, ch 3. Repeat from * across ending with DC in 3 sts. Chain 1, turn
Row 91: SC in 3 sts, *Ch 3, skp 3 chains, DC in 3 sts. Ch 3, skp 3 chains, SC in 3 sts. Repeat from * across ending with SC in top of Ch 2. Turn
Rows 92-163: repeat rows 90 & 91.
Row 164: Chain 5, *skp 3 chains, SC in 3 sts. Ch 3, skp 3 chains, DC in 3 sts, Ch 3. Repeat from * across ending with DC in 3 sts. DO NOT snip yarn
Now working on the sides of fabric (take note of the stitch markers too, place it back into the ch 1 that comes after making the 2SC in the middle stitch row)
Chain 1, 2 SC into the first DC row on the side, Ch 1 over the SC side- continue to make 2SC in the DC side stitch and Ch 1 over SC side stitch. Repeat all the way to the back panel, finish with SC in the last st row, Ch 1, Slip St in the bottom of the last SC st. Snip yarn
Opposite Side- start at the bottom of the back panel on the opposite side. Join yarn into the 1st SC side stitch, Ch 1, SC into same st, 2SC into nxt DC side stitches, Ch 1 over the SC side stitches, 2SC into the DC side sts. Finish with 2SC in the last DC side stitch. Ch 1, Slip St in the bottom of the DC st. Snip yarn.
SEAMING THE SIDES
Before seaming, Mark out the armhole. Seaming was done in a back and forth manner.

Fold fabric and align. The wrong side of the SCs you just made at the sides should be facing out.
Measure armhole according to suggested sizing and ensure the stitches around the armhole can be divided by 3 (chain 1 also counts as a stitch). Count from the middle stitch down both panels. Mark your armholes TOGETHER with 1 stitch marker.
Start joining from the wrong side. Ensure to start joining front to back from the 10th SC st on the front panel and 20th SC st. on the back panel. Seam from the wrong side- from armhole down.
SEAMING FRONT PANELS
Tip- You may want to align the v-neck with the armhole, or you could take it up 2 to 3 rows further for a higher neckline.
You may want to align the v-neck with the armhole, or you could take it up 2 to 3 rows further for a higher neckline.
You may want to align the v-neck with the armhole, or you could take it up 2 to 3 rows further for a higher neckline.
SLEEVES
With RS facing out and starting from the last 2 seamed stitches in your seam:
Round 1: Join yarn in last stitch of seam on back panel. SC2together in that stitch and last st of seam on front panel, *Ch 3, skp 3 sts, (that is, the 2SCs and Ch 1), DC in 3 sts.(that is, the next 2SCs and Ch 1) Ch 3, skp 3 sts, SC in 3 sts. Repeat from * around. Join in 1st st (the SC2tog).
Round 2: Ch 1, DC in 1st st, ch 3, skp ch 3, SC in 3 sts. Ch 3, skp ch 3, DC in 3 sts. Repeat from * around. Join to 1st st.
Round 3: Ch 1, SC in 1st st, ch 3, skp ch 3, DC in 3 sts. Ch 3, skp ch 3, SC in 3 sts. Repeat from * around. Join to 1st st.
Rounds 4-7: repeat rounds 2 & 3
Round 8: repeat round 3. Stop just before the last set of 3 Chains and solid stitches at the shoulder (watch video tutorial for guide)- we will be decreasing here. [Do Not Ch 3, SC in next 3 sts, Do Not Ch 3, DC in nxt 3 sts, Do Not Ch 3, SC in nxt 3 sts].Continue to repeat Ch 3, DC in next 3 sts, Ch 3, SC in nxt 3 sts till the last st. Join to 1st st. snip yarn, weave in tails.
You can increase the number of rounds to your desired arm length; just ensure that you do the decrease ONLY on the last round.
Repeat Rounds 1-8 for the second arm.
TRIMMING THE NECKLINE
With right side facing out, insert hook into the last seamed area, SC2together, Ch 1, *2SC in the DC side, ch 1 over the SC side. Repeat from * up to the back.
On the Back– (see 2nd photo), also remember that the same follows if you are making for the larger sizes that have 5 solid rows of stitches at the back.
Make 3DC in next 3 sts, Ch 3, SC in next 3 sts, Ch 3, DC in last 3 sts. Continue to make 2SC in the DC side sts and Ch 1 over the SC side sts. all the way to the end. Join to the 1st st (the SC2tog from the beginning of the round). Snip yarn, weave in tails.


Once you finish all the seaming and weaving in tails. BLOCK YOUR TOP- very important.
Thank you for checking out this pattern. Kindly use the share buttons to spread the word. When you make one, do not be shy, share with us on instagram with #yarncraftee or join our private Facebook group to share your projects and find support.