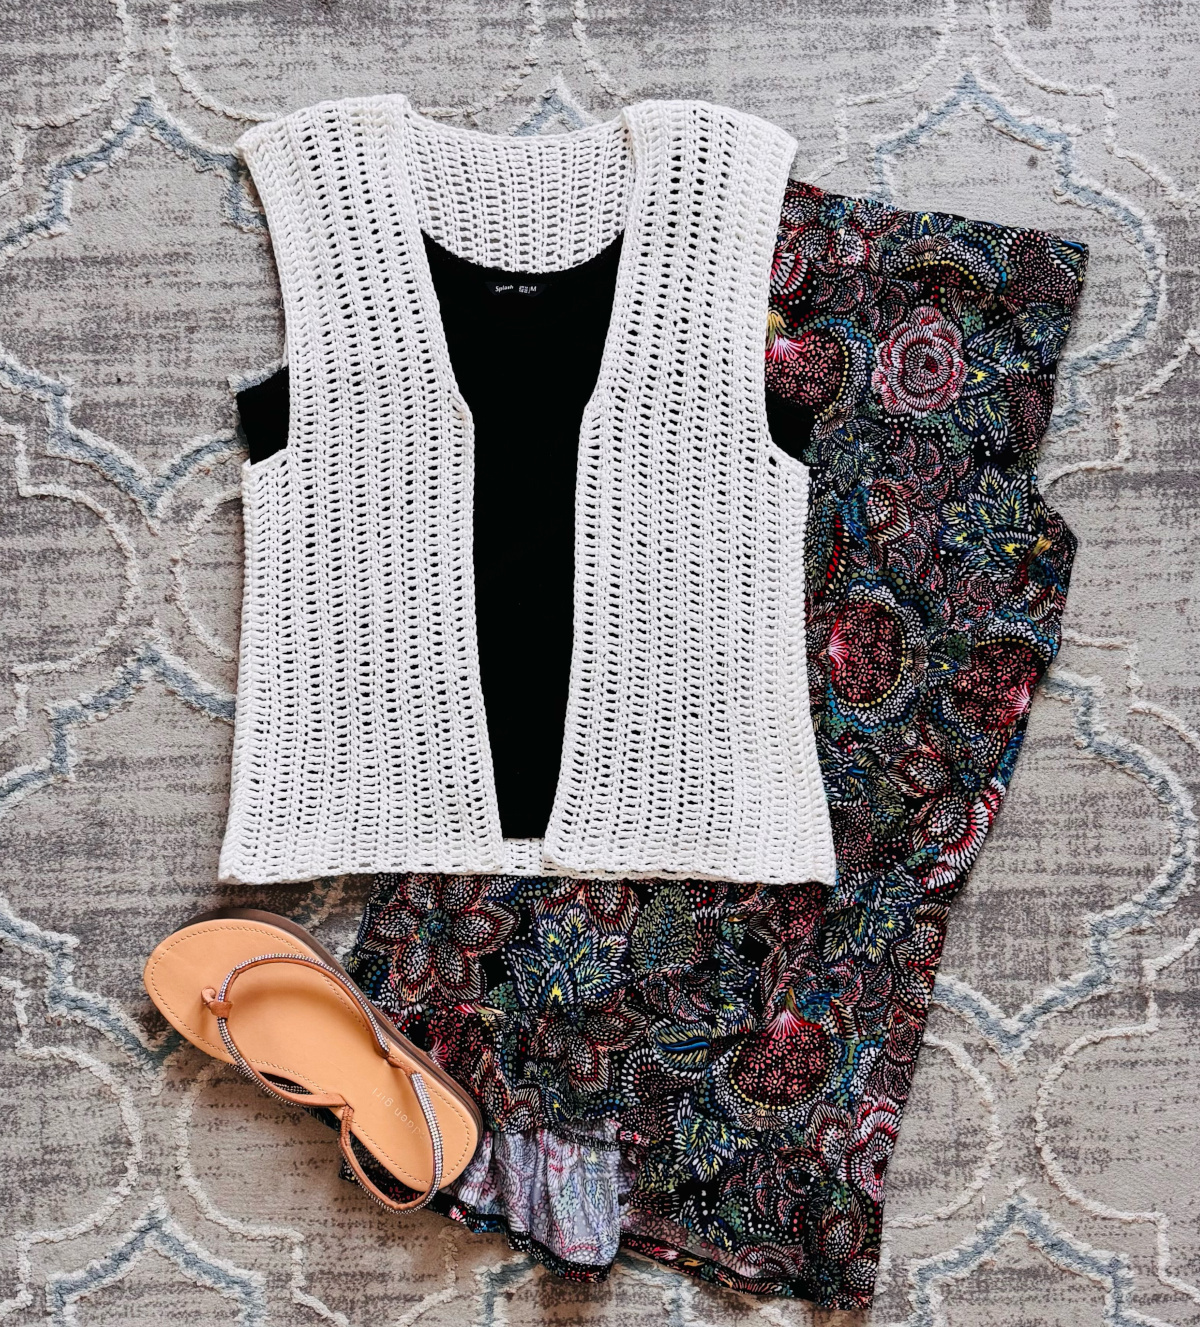
Woohoo! Are you ready to make one last crochet item with the Open Waves crochet stitch? Then, join me as I guide you through making the Vivi Lacy Crochet Cardigan, a lightweight, pretty and lacy cardigan for your summer wardrobe.
Purchase and AD-free version on Ravelry, Etsy or Lovecraftscom

The Vivi Lacy Crochet Cardigan is the third design I’ve crocheted using the Open Waves Crochet stitch. It follows a similar yet different design pattern like the City Walk Crochet Ruana and the Summer Crochet Cover-up.
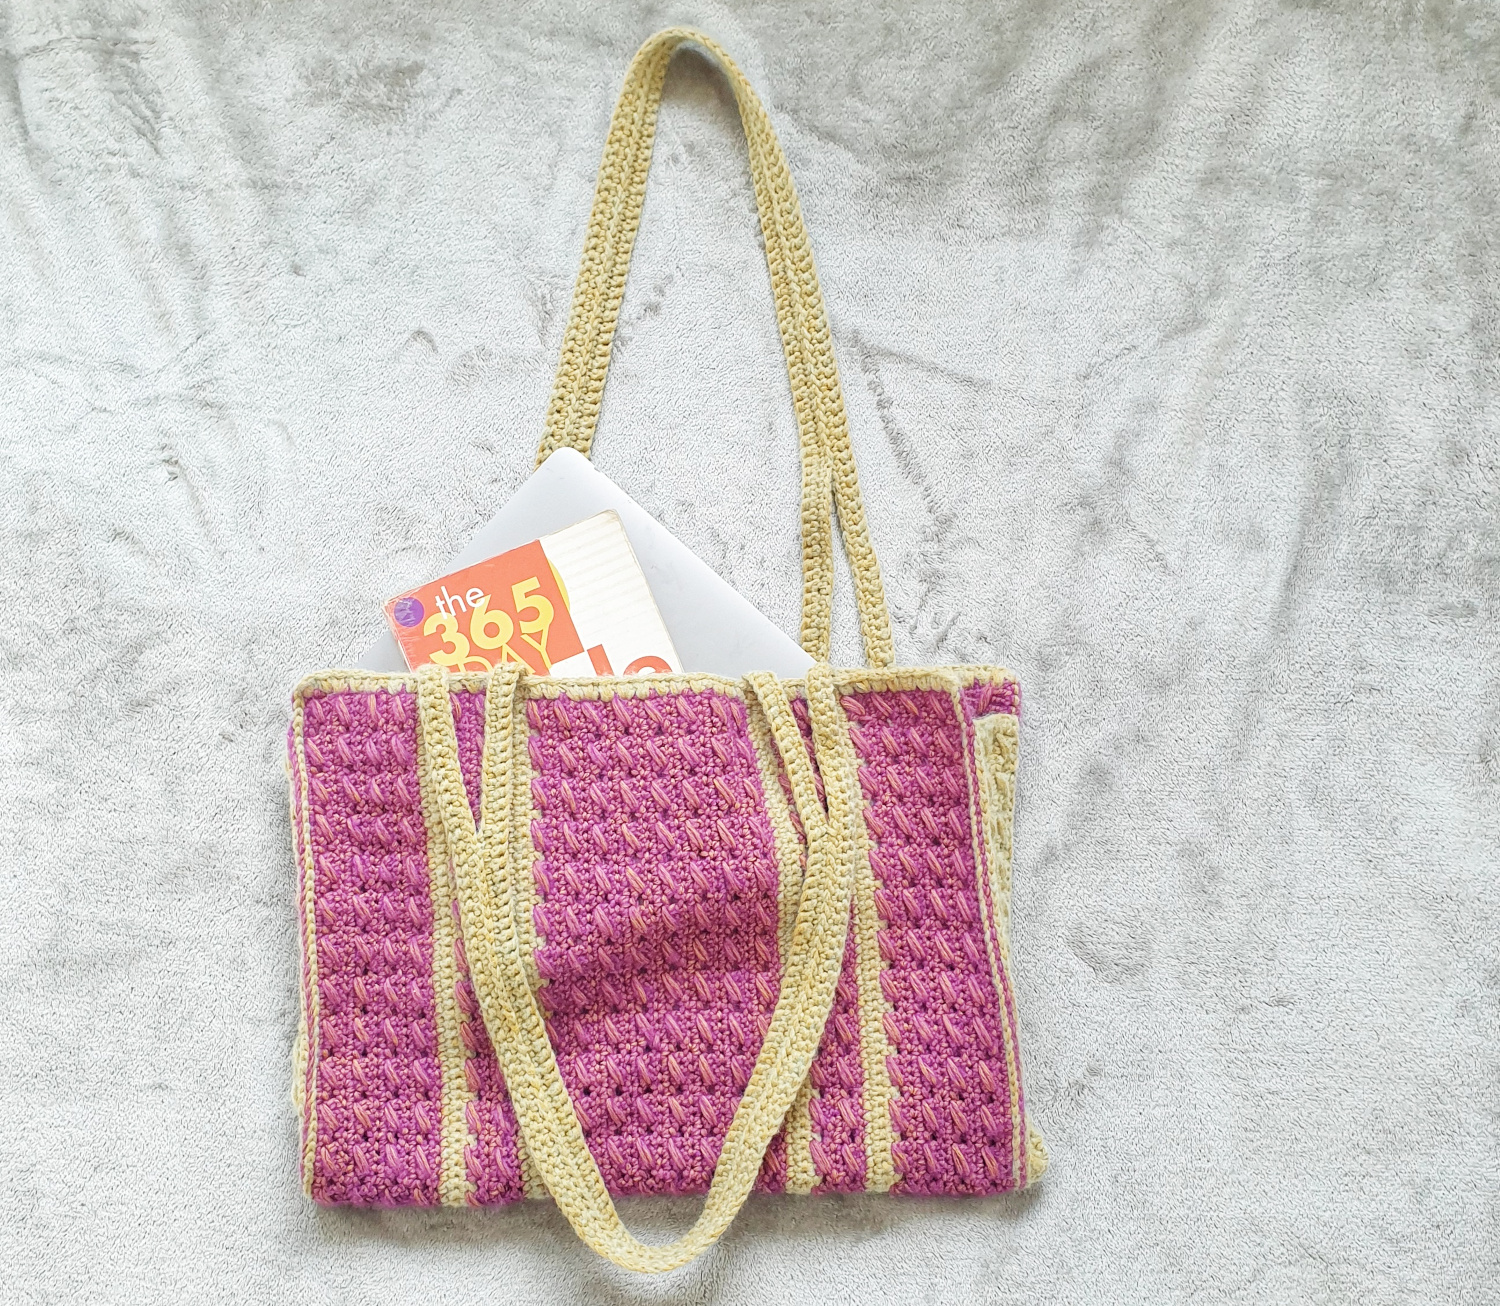
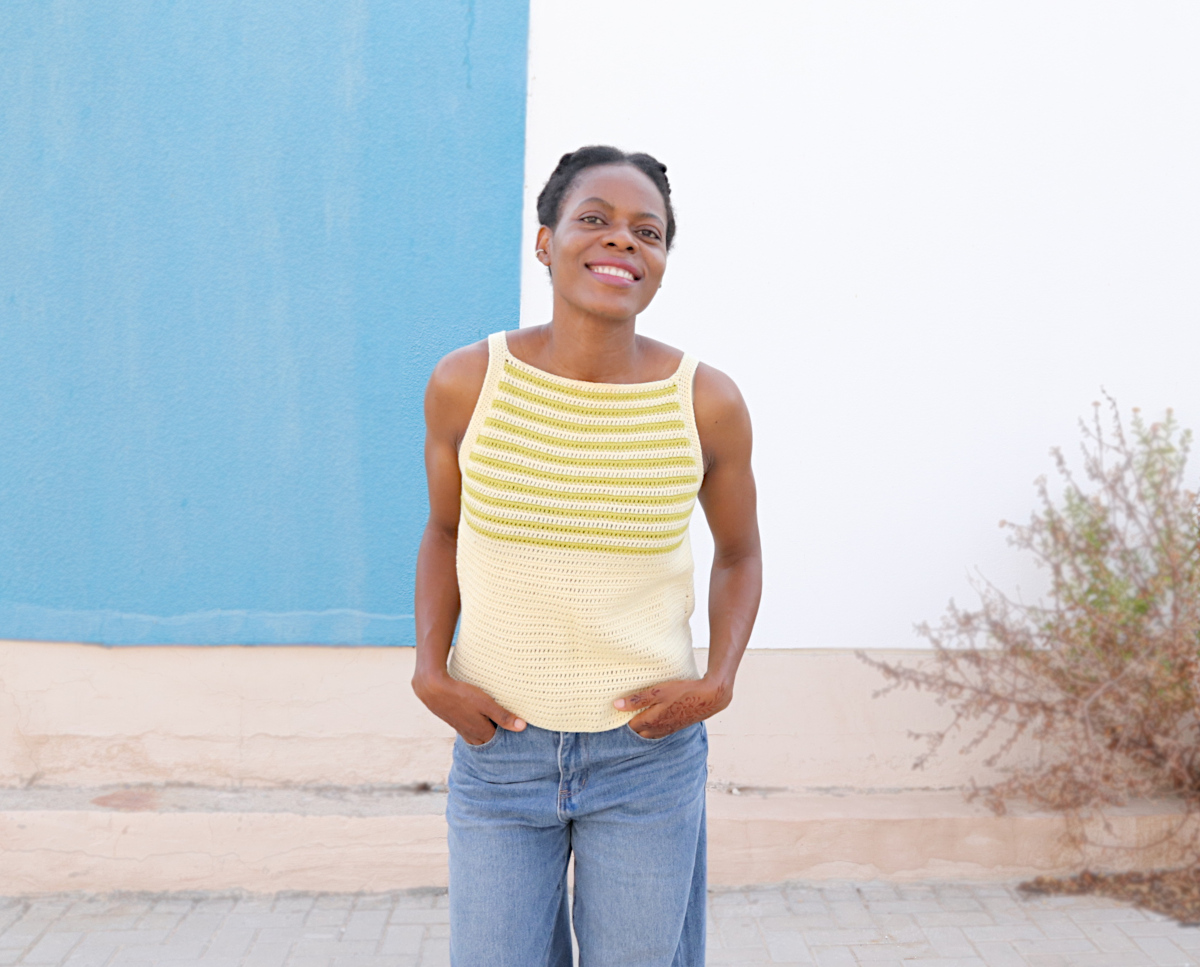
Having designed the Open Waves Crochet Top and Everyday Cotton Crochet Tote Bag in a horizontal pattern, I was curious to see how the open waves crochet stitch would look in a vertical pattern. I’ve got to say, I really like the look; with the fringe detail adding a fun, carefree look to the cardigan.

CONSTRUCTION
The Vivi Lacy Crochet Cardigan is designed from two long pieces, sewn together halfway to create back and front panels. From there, every other feature is added, like the fringe and extension of the neckline at the back of the joined panels.

CUSTOMISE
You can easily customise the Vivi Crochet Cardigan pattern by making a few tweaks. For instance, you might notice in the photos that one shows the cardigan with fringes at the sleeves, while one does not- this is one of the features you can customise. Additionally, you can extend the length of the cardigan by making more stitch multiples at the beginning (more that what is written for the size you are making). However, I would recommend that you leave the back extension as given in the pattern.
YARN
If you watch the video tutorial, you will hear that I mentioned that the yarn felt like DK weight, even though it is labelled as worsted weight yarn. The ZZ Twist yarn by Lion brand used to design this Vivi Lacy Crochet Cardigan has been discontinued (such a shame, if you ask me, because it was good quality yarn). With a little research, I saw that the ZZ Twist can be substituted with Lion Brand Jeans or Lion Brand Mandala Ombre yarns.
To get a lighter and airy fabric, I do think that a DK weight yarn is better for this pattern, because you will be using a large hook, which will in turn create wider spaces between the rows. You can use a worsted weight yarn for this pattern. However, if you choose to use DK yarn, you can extend the starting chain by adding 10 more, while referring to the pattern gauge as a guide.
Open Waves Crochet Stitch
This is where it begins from. Once you know how to do the open waves crochet stitch, then you can explore all the patterns using the stitch. Start here.
LACY CROCHET SUMMER LAYERS FOR YOU
SHOP YARN CRAFTEE PATTERNS
All patterns and materials shared on www.yarncraftee.com (unless otherwise stated) are copyright Bekisu Obomighie aka Rose Obom. Please read more on the Privacy Policy page. Thank you.
VIVI LACY CROCHET CARDIGAN WITH FRINGES
Disclosure– This post may contain affiliate links; from which Yarn Craftee will receive a commission should you make a purchase.
Gauge (unblocked): 17 rows on the body= 4 inches
Finished Size:
- (unblocked): size M- width 17.5”/ height (minus fringe) 16”
- (blocked): size M- width 19”/ height (minus fringe) 17”
Size Guide:
- Sizes: S, M, L, XL, 2XL, 3XL, 4XL
- Starting chains: 154, 154, 164, 174, 174, 184, 184
- Number of row & back extension: 29+5, 31+5, 31+7, 33+7, 35+7, 35+9, 37+9
- Armhole- number of solid rows to mark: 6, 7, 7, 8, 8, 9, 9
Materials:
- Worsted weight, medium 4 acrylic yarn. Substitute with Lion Brand Jeans or Lion Brand Mandala Ombre yarns. (S-675, M-675, L-850, XL-900, 2XL-100, 3XL-1125, 4XL-1125) mtrs
- 5mm hook
- Stitch markers
- Tapestry needle
- Scissors
Stitches/Abbreviation:
- SC- single crochet
- DC- double crochet
- CH- chain
- LFP- left front panel
- RFP- right front panel
- WS- wrong side
- RS- right side
Notes:
- The Pattern uses U.S terms
- Ch 2 at the beginning row counts as a stitch
- Automatically skip the Ch 3, as it will not be repeated in the pattern.
- The pattern written here is for Medium. Please always refer to size guide.
Purchase and AD-free version on Ravelry, Etsy or LoveCraftscom
PATTERN
Row 1: Ch 154, skip 2 chs (counts as 1st DC on row), DC in 3rd ch from hook and next ch, *Ch 3, skip 2 chs, SC in nxt 3 chs, Ch 3, skip 2 chs, DC in nxt 3 chs. Repeat from * across the row. Ch 2, turn
Row 2: SC in 1st st and nxt 2 sts, *Ch 3, DC in nxt 3 sts, Ch 3, SC in nxt 3 sts. Repeat from * across the row, end with DC in top of Ch 2. Ch 2, turn
Row 3: DC in next 2 sts, *Ch 3, SC in nxt 3 sts, Ch 3, DC in nxt 3 sts. Repeat from * across the row. Ch 1, turn
Rows 4-31: repeat rows 2&3. Do not snip yarn.
BACK EXTENSION- (see size guide for number of rows for your size)
Fold the piece in half, you will see that there is a solid row of stitches at the centre (shoulder). Mark the 1st stitch on the 2nd solid row of stitches. Please also see video tutorial for better guidance.
Row 1: SC in 1st st and nxt 2 sts, Ch 3, DC in nxt 3 sts, *Ch 3, SC in nxt 3 sts. Ch 3, DC in nxt 3 sts. Repeat from * to the last marked st. (your last 3 sts are DCs). Ch 1, turn
Rows 2-5: repeat row 1. Snip yarn, leave a long enough tail for sewing.
NOW, MAKE A SECOND PANEL, same as the 1st panel (without the back extension). Snip yarn, now mark the point where you need to begin the back extension. See photo below for guide or refer to the video tutorial.
- Place the panel so that the end is facing inwards to the last row of the first panel.
- Now, mark the stitch. You can use the number of solid rows on the 1st panel as a guide for where to place your stitch marker.

Row 1: with the WS of the 2nd panel facing up, join yarn in marked stitch, Ch 2 (counts as the 1st DC on row), DC in nxt 2 sts, Ch 3, SC in nxt 3 sts., *Ch 3, DC in nxt 3 sts, Ch 3, SC in nxt 3 sts. Repeat from * across the row. (your last 3 sts are SCs). Ch 2, turn
Row 2: DC in nxt 2 sts, Ch 3, SC in nxt 3 sts, *Ch 3, DC in nxt 3 sts, Ch 3, SC in nxt 3 sts. Repeat from * across the row. (your last SC is done in the top of Ch 2 of previous row). Ch 2, turn
Rows 3-5: repeat row 2. Snip yarn, weave in tails.
JOIN THE PIECES
With the RS of the last rows facing up, join the pieces on the back.
Measure out Armhole (see size guide) and place stitch markers in them. Use one stitch marker to join both front and back panels.
Use solid stitch rows as a guide to mark the armhole. For instance, the photo below shows 7 arrows pointing to 7 solid stitch rows. Also, note where the green stitch marker is placed, in the first st. of that row.

JOINING THE SIDES
Side 1– With front of piece facing up, join yarn in 1st stitch at the bottom of LFP, Ch 2, HDC in nxt 2 sts, 2HDC in Ch 3 space, *HDC in nxt 3 sts, 2HDC in Ch 3 space. Repeat from * till the last 2HDCs in the ch 3 space at the marked armhole.
Connect to the back panel by making 2HDCs in the 1st Ch 3 space on the back panel, continue to make HDCs into the stitches and ch 3 spaces.
(Note that the 1st stitch on the row you join through is the Ch 2 on the front and the HDC at the back. This is important to note so that the stitches will align and you won’t end up with an uneven joining). At the end of the row Ch 1, turn. With the WS of the HDC stitches facing up, join both front and back stitches with Slip Stitches.
Side 2– With back of piece facing up, join yarn in 1st stitch at the bottom of RFP, follow the entire process as with the left side.
FRINGE
Tip– make the DC stitches in the back bump of the chains, not directly in them.
With front of piece facing up, join yarn in 1st stitch row at the bottom of the LFP, *Ch 17, DC in 6th ch from hook, (ch 2, skip 2 chs, DC in nxt ch) 3 times, ch 2, SC in nxt stitch row. Repeat from * across each stitch row. To finish, join the last fringe to the last stitch row with a Slip Stitch. Snip yarn, weave in tails.

NECKLINE
Row 1: At the neck area of the back (in the ch3 space after the centre ‘shoulder’ row), join yarn in Ch 3 space. Ch 1, skp next st, SC in 2 sts, Ch 3, SC into each stitch row (if you had 10 stitch, you will make 10 SC sts and so on, depending on how many rows your back extension was). Ch 3, SC in nxt 2 sts, skip last st, Ch 1, slip st in ch 3 space. Ch 2, turn.
Row 2: skip the nxt 2 sts, DC in 3rd st, Ch 3, DC 10 (or more) into the nxt back sts, Ch 3, DC in nxt st, Ch 2, slip st in Ch 3 space. (do not chain 1), turn
Row 3: 2SC in ch 2 space, Ch 3, SC into each st at the back, Ch 3, 2SC in ch 2 space, Sl st in Ch 3 space. Snip yarn, weave in tails.
This marks the end of the pattern. However, if you want to add fringes at the sleeves, and also make an extra rows at the back, continue with the guide below.
OPTIONAL ADDITION
FRINGE AT SLEEVES
With piece facing front, join yarn in 1st st (that spot you marked for the sleeve), *Ch 17, DC in 6th ch from hook, (ch 2, skip 2 chs, DC in nxt ch) 3 times, ch 2, SC in nxt 3rd st.
Repeat the Ch 17 ladder process again, SC in Ch 3 space. Repeat ch 17 again, SC in nxt st. Repeat the whole process of Ch 17 around the sleeve. Finish with Slip Stitch in the last st. Snip yarn.
On the 2nd sleeve, start from the back of the cardigan. Please refer to the video tutorial for guide.
FINISH
Weave it all tails. Block your Vivi Lacy Crochet Cardigan.
Thank you for checking out this pattern. Kindly use the share buttons to spread the word. When you make one, do not be shy, share with us on instagram with #yarncraftee or join our private Facebook group to share your projects and find support.