Hi Craftees, let’s head on to completing the City Walk Crochet Cover-up Ruana for Women. This second part deals with the lower panels and the trimming at the sides and front. Part 2 also guides you on how to close the sides should you want it to be a cardigan rather than a ruana.

CUSTOMISATION AND YARN
This crochet cover-up ruana pattern uses sport weight yarn, but because it can be customised a DK yarn weight can also be used as well as an appropriate hook size. If you use DK yarn, it will be slightly larger than the original size; which is fine if that is what you are aiming for. To make a smaller size, you use a smaller hook. I talk about customisation about that in Part 1, you will also find more details in the AD-Free pattern in my shops.
MORE PATTERNS USING THE ‘BEAUTIFUL YOU’ YARN
Tap picture to go to pattern

BLOCK YOUR CROCHET COVER-UP RUANA
Due to the spaced stitching, you will have a stretchy fabric. Like I often mention in my patterns blocking is crucial to the overall result of your piece. I can’t overemphasize it enough, please block your piece.
How to Block- You can use a steam iron to hover over the piece from top to bottom and over all the sides or you can dip the piece in water (or run it in the washing washing), squeeze out the water, lay the fabric on a pin-able surface and pin down while stretching all side
MORE ‘SUMMER INSPIRED’ CROCHET PATTERNS
- Beginner Crochet Bucket Hat
- Chain Loop Crochet Summer Top
- Colour Block Tank Top for Boys
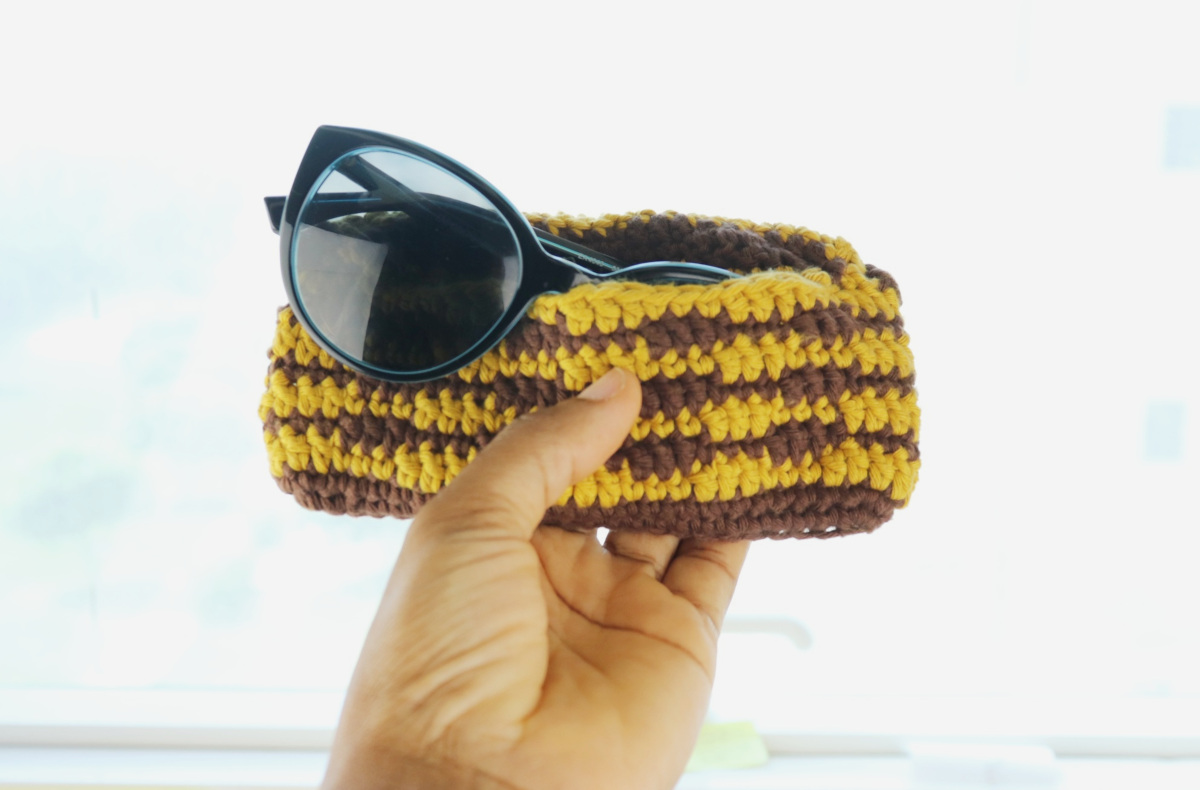
- Quick Crochet Summer Sunglass Case
- Rainbow Sleeveless Crochet Hoodie
SHOP YARN CRAFTEE PATTERNS
All patterns and materials shared on www.yarncraftee.com (unless otherwise stated) are copyright Bekisu Obomighie aka Rose Obom. Please read more on the Privacy Policy page. Thank you.
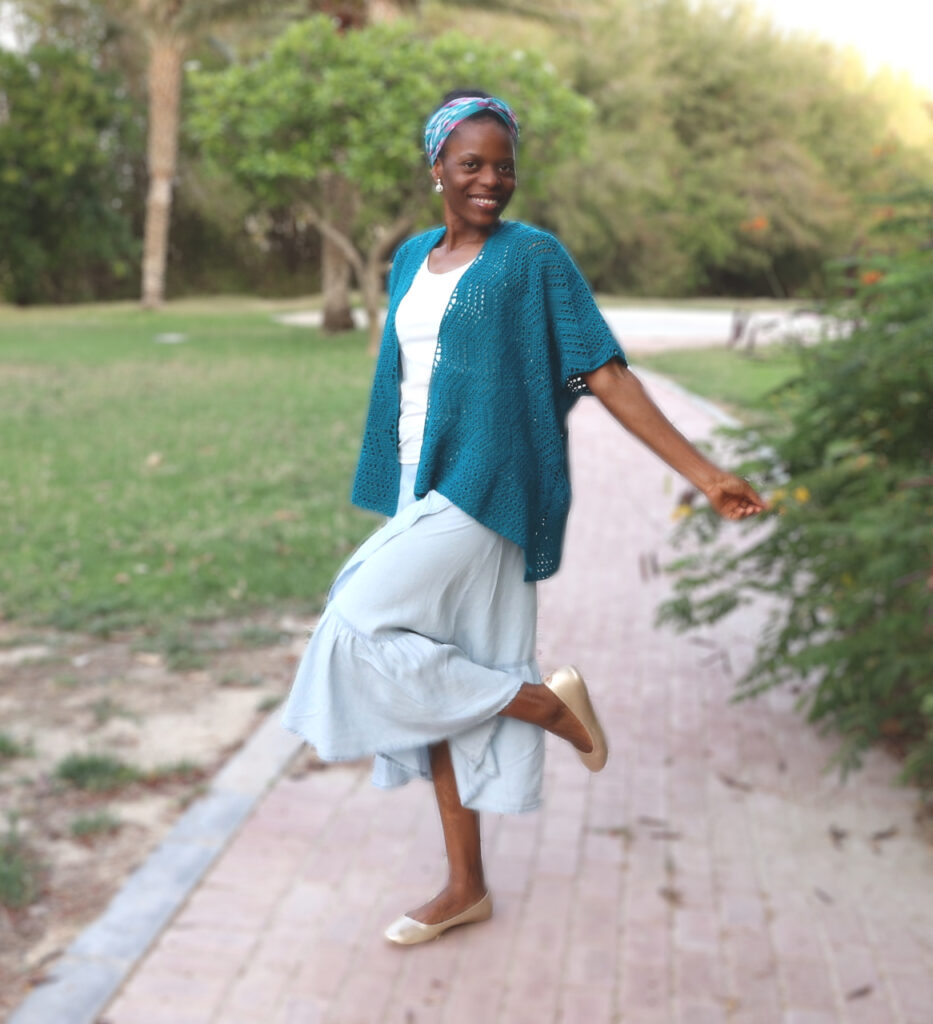
CROCHET COVER-UP RUANA for WOMEN
Disclosure– This post may contain affiliate links; from which Yarn Craftee will receive a commission should you make a purchase.
Finished Size (as in photos): after blocking- width-31.5”, height-22.2”
Gauge: 1 ‘peak’ to another ‘peak’/ 11 rows (3 DC rows, 5 spaced/DC rows, 3 DC rows) = 3.5″
Materials:
- Sport Weight, fine 2 yarn. Yarn used for the pattern is Lion Brand Beautiful You. 100g/298mtrs. You need about 1,119 mtrs for size S, size M-1,200 mtrs, size L- 1,490 mtrs. This yarn has been discontinued, so you can get a substitute here
- 3.5 or 3.75mm or larger hook to customise
- Stitch marker
- Tapestry Needle
- Scissors
Stitches/Abbreviation:
- DC- double crochet
- TC- treble crochet
- SC- single crochet
- DTC- double treble crochet
- Bobble stitch
- CH- chain
- SKP- skip
- BP- back panel
- FP- front panel
How to:
TC- yarn over 2 times, go into stitch, yarn over pull out a loop (4 loops on hook), (yarn over pull through 2 loops) 3 times.
DTC- yarn over 3 times, go into stitch, yarn over pull out a loop (5 loops on hook), (yarn over pull through 2 loops) 4 times.
2DC Bobble- yarn over, go into stitch yarn over, pull out a loop (3 loops on hook), yarn over pull through 2 loops (2 loops left on hook), yarn over, go into same stitch, yarn over pull out a loop (4 loops on hook), yarn over pull through 2 loops, yarn over pull through all 2 loops on hook.
Notes:
- The pattern uses U.S terms
- Chain 1 between the DC stitches count as stitches, so throughout the pattern it will often be referred to as ‘stitch’
- Ch 2 at end of row counts as 1st DC on next row
- 1 set of rows is five rows of spaced and solid, and three rows of solid stitches
- The stitch pattern is in multiples of 20 x even number + 3 chains (in this pattern 20 x 10 + 3)
Purchase an AD-Free version on Ravelry, Etsy or Lovecrafts
VIDEO TUTORIAL
PATTERN
Part 2- Lower piece: Back panel
– Ch 2 at the end of the row counts as 1st stitch on the next row.
With right side of work facing up, join yarn in 1st st row,
Row 1: ch 1, 2SC in 1st st row, 2SC in next st row and each row across till the joining, SC in the joining (it might be hard to do as you’ll not likely see a gap to work into, but probe with your hook to create a space to make the SC), 2SC in next st row and each st row across. Ch 2, turn
Row 2: DC in 1st st, skip 1 st, DC vstitch in next, *skip 1 st, DC vstitch in next, repeat from * across till last 2 sts, skip 1 st., 2DC in last st. Ch 2, turn
Row 3: DC in 1st st, ch 1, bobble in 1st vstitch, *ch 1, bobble in next vstitch, repeat from * till last 2 sts, ch 1, 2DC in last st (top of ch 2). Ch 2, turn
Row 4: Vstitch in 1st ch 1 space and each ch 1 spaces across, DC in last st (top of ch 2). Ch 2, turn
Row 5: Bobble st in 1st vstitch, *ch 1, Bobble st in next vstitch, repeat from * across, DC in last st (top of ch 2). Ch 2, turn
Row 6: DC in 1st st, vstitch in 1st ch 1 and each ch 1 spaces across. 2DC in last st (top of ch 2). Ch 2, turn
Row 7-14: repeat rows 3-6
Row 15: repeat row 5.

Right front panel
Row 1: With right side of work facing up, join yarn in 1st st row. 3SC in st, 2SC in next st row and each row across. Ch 2, turn
Row 2: Row 2: DC in 1st st, skip 1 st, DC vstitch in next, *skip 1 st, DC vstitch in next, repeat from * across till last 2 sts, skip 1 st., 2DC in last st. Ch 2, turn
Row 3: DC in 1st st, ch 1, bobble in next vstitch, *ch 1, bobble in next stitch, repeat from * till last 2 sts, ch 1, 2DC in last st (top of ch 2). Ch 2, turn
Row 4: Vstitch in 1st ch 1 space and each ch 1 spaces across, DC in last st (top of ch 2). Ch 2, turn
Row 5: Bobble st in 1st vstitch, *ch 1, Bobble st in next vstitch, repeat from * across, DC in last st (top of ch 2). Ch 2, turn
Row 6: DC in 1st st, vstitch in 1st ch 1 and each ch 1 spaces across. 2DC in last st (top of ch 2). Ch 2, turn
Row 7-14: repeat rows 3-6
Row 15: repeat row 5.
Left front panel
Row 1: With right side of work facing up, join yarn in 1st st row. 2SC in st. and each st row across till last st row, 3SC in last st row. Ch 2, turn
Row 2: DC in 1st st, skip 1 st, DC vstitch in next, *skip 1 st, DC vstitch in next, repeat from * across till last 2 sts, skip 1 st., 2DC in last st. Ch 2, turn
Row 3: DC in 1st st, ch 1, bobble in next vstitch, *ch 1, bobble in next stitch, repeat from * till last 2 sts, ch 1, 2DC in last st (top of ch 2). Ch 2, turn
Row 4: Vstitch in 1st ch 1 space and each ch 1 spaces across, DC in last st (top of ch 2). Ch 2, turn
Row 5: Bobble st in 1st vstitch, *ch 1, Bobble st in next vstitch, repeat from * across, DC in last st (top of ch 2). Ch 2, turn
Row 6: DC in 1st st, vstitch in 1st ch 1 and each ch 1 spaces across. 2DC in last st (top of ch 2). Ch 2, turn
Row 7-14: repeat rows 3-6
Row 15: repeat row 5.
TRIM SIDES
Right Side– from front to back
With wrong side facing up, join yarn in 1st st row. Ch 3, TC in same st row,
*Ch 1, TC in next st row, repeat from * across 14 rows, in the last row (the SC row) don’t ch 1, TC in row, continue with the next steps below
Working on the Chevron part-
*Skip next st (the 1st st on the upper part), DTC in next, ch 1, skip 1 st, TC in next, ch 1, skip 1 st, DC in next, ch 1, skip 1 st, HDC in next, ch 1, skip 1 st, SC in next. Skip the next ch 1 that is between the DCs,
SC in next, ch 1, skip 1 st, HDC in next, ch 1, skip 1 st, DC in next, ch 1, skip 1 st, TC in next ,ch 1, skip 1 st, DTC in next, repeat from * across the Chevron, continue with the next steps below
Working on the bottom rows-
After the last DTC there’s one stitch left, skip it,
TC in next st row (the SC row), *TC in next st row, ch 1, repeat from * till last st row, 2TC in last st row. Snip yarn.
Left Side– from back to front
Follow steps as detailed for the Right side above.
FRONT TRIM
With wrong side facing up, and starting from the Left Front panel,
Join yarn in st row, ch 1, 2SC in 1st st row, *Ch 1, SC in next st row, repeat from across 14 rows, in the last row (the SC row) don’t ch 1, SC in next, continue with the next steps below
Working on the Chevron part-
*SC in next, ch 1, skip 1 st, HDC in next, ch 1, skip 1 st, DC in next, ch 1, skip 1 st, TC in next, ch 1, skip 1 st, DTC in next. Skip 2 sts,
DTC in next, ch 1, skip 1 st, TC in next, ch 1, skip 1 st, DC in next, ch 1, skip 1 st, HDC in next ,ch 1, skip 1 st, SC in next, skip the ch 1 between the DC vstitch, repeat from * across the Chevron, till the back joining, continue with the next steps below
Working on the back-
Ch 1, SC in next st row (the spaced stitch rows), ch 1, SC in next st row, Ch 1 over the joining itself, ch 1, SC in next st row, ch 1, SC in next st row, continue with next steps below
Working on the opposite Chevron side- (repetition of previous Chevron part)
Follow steps as detailed for the Chevron part above, continue with the next steps below
Working on last bottom rows-
SC in next 2 st rows, ch 1, *SC in next st row, ch 1, repeat from * till last st row. 2SC in last st row. Snip yarn. Weave in all tails.
Turn it into a Cardigan
If you prefer the sides to be closed and depending on your size from small to large, leave 7.5 (8, 8.5 inches) armhole space, sew down from the armhole, do not sew the lower part.
BLOCK your ruana- it makes a world of difference.
You will notice the lower part is wider that the upper part, this is fine, it is how the design should be.

Thank you for checking out this pattern. Kindly use the share buttons to spread the word. When you make one, do not be shy, share with us on instagram with #yarncraftee or join our private Facebook group to share your projects and find support.